Many people find it difficult to achieve their desired hair color and effect when dyeing their hair at home, often encountering various challenges. When dyeing hair at home, it's essential to prepare gloves first to prevent the dye from staining your hands and being hard to wash off. Also, make sure to have plastic wrap ready to wrap your hair, which helps in achieving the desired color.

1. Mixing the Hair Dye
Put on plastic gloves, pour the color developer and hair dye from the product into a mixing bowl, and then mix them evenly with a flat comb.
2. Applying the Dye Evenly
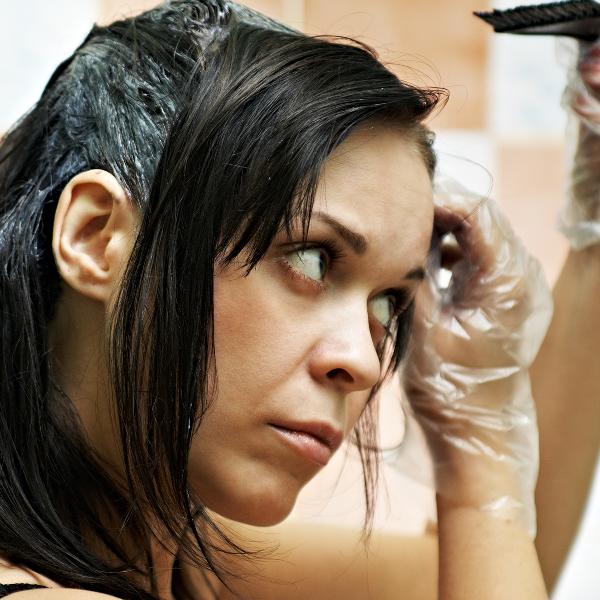
Wear old clothes or drape an old towel to protect your clothes from stains, and lay newspapers on the floor nearby to prevent the dye from staining the floor. Next, divide your hair into several sections, apply the dye to a comb, avoid the roots, and start applying from the top down to the ends. Make sure to comb the dye outward to the sides, not just downward. After completing this, apply the dye to the reserved root sections as well.
3. Heating for Better Color
After evenly applying the dye to all your hair, wrap it with plastic wrap and wait for 20-30 minutes. For coarse hair that is difficult to color, you can use a hairdryer's hot air to enhance the coloring effect.
4. Cleaning the Skin After Dyeing
During the hair dyeing process, it's easy for the skin to get stained with dye. You can use a cotton swab dipped in Vaseline to clean it off.
5. Thoroughly Washing the Hair
After the time is up, rinse your hair with water until the water runs clear, then use a color-protecting shampoo and conditioner for the final wash and care.