Got a pair of leather shoes that have stretched out or just don’t fit right anymore? Don’t toss them—shrinking them might be the fix you need. While it’s not a guaranteed solution for every shoe, you can often tighten them up by about half a size with the right methods. Just keep in mind that leather is delicate, and overdoing it could leave you with a pair of ruined kicks. So, let’s break down the best ways to shrink leather shoes without wrecking them.

Understanding Why Leather Shoes Stretch
Leather is a natural material, which means it responds to wear, moisture, and heat. Over time, the fibers loosen from repeated use, especially if your feet sweat or if the shoes get wet. Even new shoes can feel too big if they weren’t the right fit to begin with. The good news? Because leather is responsive, you can manipulate it to tighten up—but you’ve got to be careful. Too much heat or moisture can warp the shape or dry out the material, leading to cracks or stiffness.
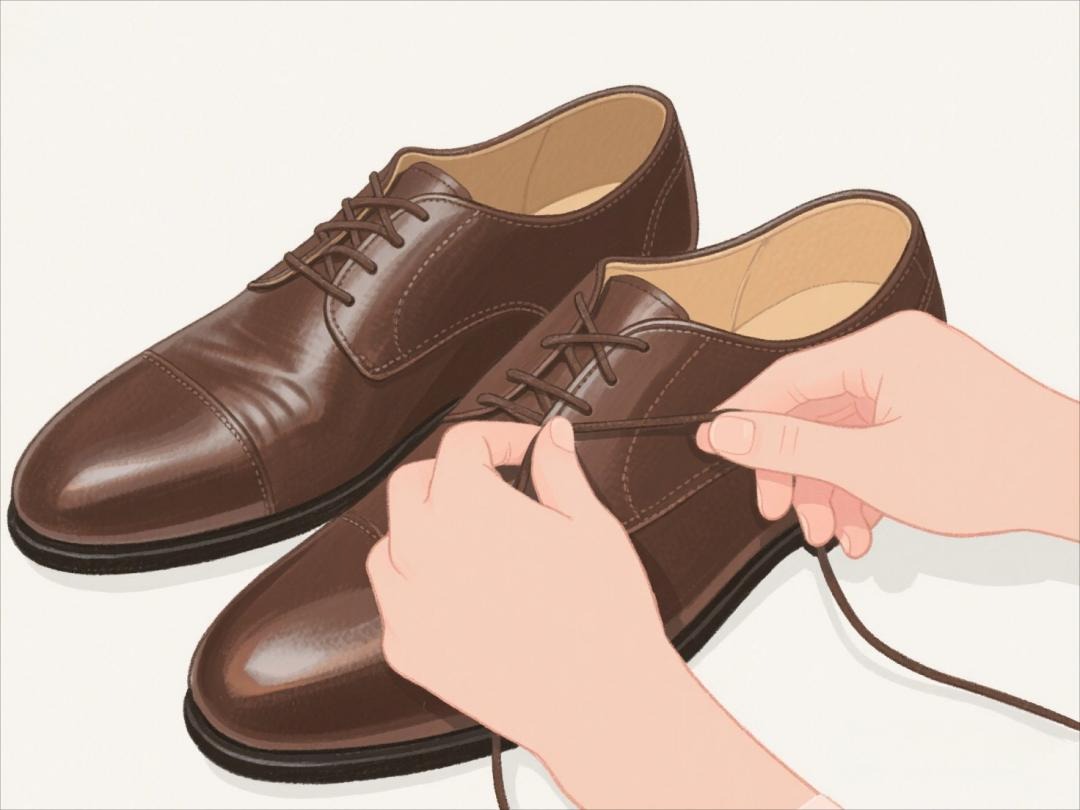
1.The Water and Heat Method (Shrinking your Shoes with Water)
This is the most common way to shrink leather shoes slightly. Start by dampening the inside with a spray bottle—just enough to moisten, not soak. Then, wear thick socks and put the shoes on, letting your body heat help mold them as they dry. Alternatively, you can use a hairdryer on low heat while flexing the shoe to encourage shrinkage. Just don’t blast it too close or for too long, or you’ll risk drying out the leather. This method works best for small adjustments, like when your shoes have just started feeling loose.

2.Choosing the Right Elastic Band
Not all elastic is created equal—you’ll want a thin, stretchy band designed for clothing, not the thick, heavy-duty kind used for waistbands. Head to a craft store or check online for sewing elastic, which is flexible enough to move with your foot but strong enough to hold its shape. A couple of inches (about 5 cm) should do the trick, but if you’re new to sewing, cutting a slightly longer piece gives you more room to work with. Just trim the excess once you’ve stitched it in place. Pro tip: If you’re working with delicate leather, opt for a softer elastic to avoid unnecessary strain on the material.
Pinning the Elastic for a Perfect Fit
Before you start stitching, you’ll need to position the elastic just right. Stretch it across the inside of the shoe’s heel—this is where the magic happens. The tighter the elastic, the more secure the fit, but don’t overdo it or you’ll risk making the shoe uncomfortably tight. Use safety pins or hairpins to anchor each end of the band to the sides of the shoe. If you’re struggling to get even tension, pin one side first, then stretch and secure the other. This step is crucial—if the elastic isn’t positioned correctly, your shoe might still slip or feel awkward when walking.
Sewing Like a Pro (Even If You’re a Beginner)
Time to break out the needle and thread. A curved needle can be a lifesaver here, especially if you’re working with tight spaces inside the shoe. Use a sturdy thread (nylon or polyester works best) and make small, tight stitches to attach the elastic securely. If you’re not confident in your sewing skills, practice on a scrap piece of fabric first—no shame in a trial run! Once the elastic is firmly stitched in place, remove the pins and give the thread a solid knot to keep everything from unraveling. For extra durability, you can even add a dab of fabric glue where the elastic meets the shoe.
Testing and Fine-Tuning the Fit
Slip your newly adjusted shoes on and take a few steps—how do they feel? The elastic should hug your heel without digging in, keeping the shoe from sliding around. If they’re still a little loose, you might need to tighten the elastic or add a second band for extra security. On the flip side, if they feel too tight, carefully snip the stitches and reposition the elastic with slightly less tension. For shoes that are too long in the toe, stuffing the front with tissue paper or adding a thicker insole can help take up extra space. Remember, the goal is comfort and functionality—not just keeping the shoes on your feet.
With a little patience and some basic sewing skills, you can rescue those slipping shoes from the back of your closet. This elastic band trick is a lifesaver for thin leather shoes, but it’s not a one-size-fits-all solution. If your shoes are way too big, you might need to combine this method with others (like the water trick) for the best results. Either way, it’s a cheap, easy fix that beats shelling out for a brand-new pair. Now go strut your stuff—without worrying about your shoes flying off mid-step!
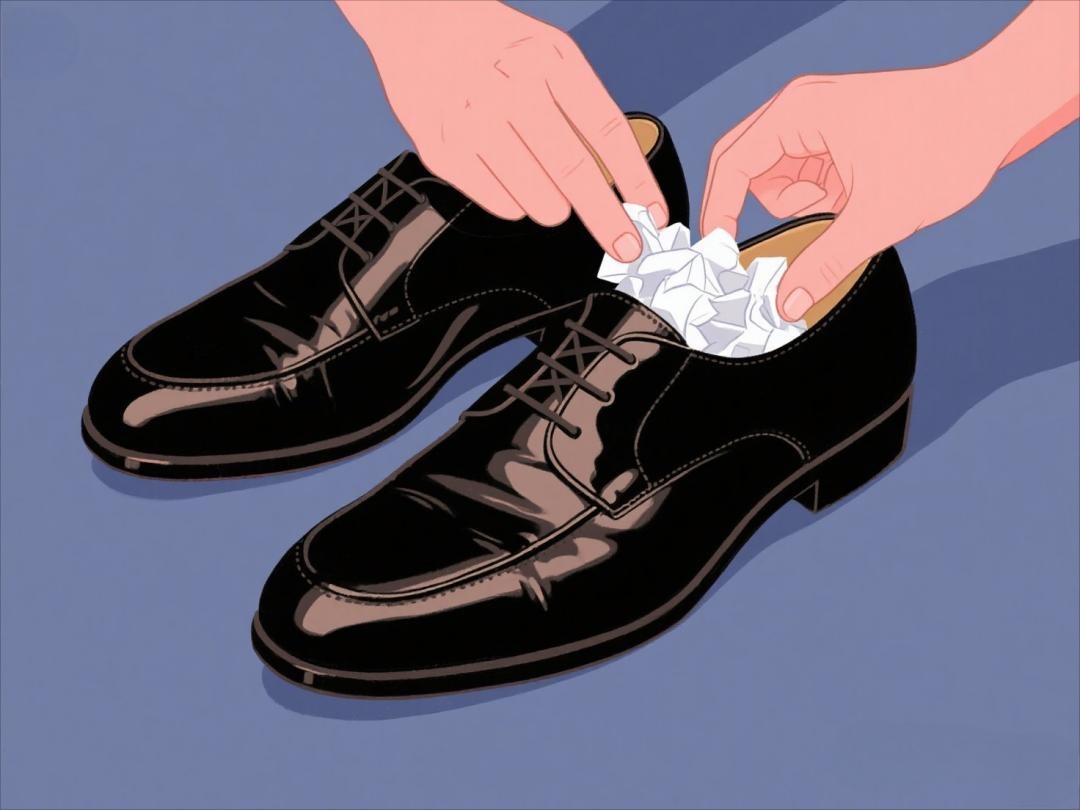
3.Stuff It Like a Thanksgiving Turkey
If your shoe’s toe box feels like a cavern, grab some tissue paper, cloth, or even newspaper and pack it in. Roll up a small wad and stuff it right at the tip—just enough to fill the gap without cramping your toes. Walk around the house for a bit to test the comfort before hitting the streets. If it feels like you’re stomping on a lumpy sock, adjust the amount until it’s snug but not annoying. This trick works best for minor slippage, not full-on clown shoe syndrome.
Thicken Up Your Sole Game
When there’s too much space between the top of your foot and the shoe, a thicker insole can save the day. Grab a cushy foam or rubber insole from a shoe store (or steal one from an old pair of sneakers). Trim it to fit if needed—scissors work fine. If your shoe already has a flimsy insole glued in, try peeling it out first (gently—no need to go Hulk mode). The extra padding not only fills the gap but can also add comfort, turning your loose loafers into cloud-walking dream shoes.
Call in the Shoe Whisperer (AKA a Cobbler)
If DIY isn’t cutting it, a cobbler can work magic on leather shoes. These pros have tricks like stretching adjustments, sole replacements, or even heat treatments to shrink the material slightly. Prices vary, so shop around—some cobblers charge way less than others. Bring your shoes in and explain the issue; they’ll let you know if it’s fixable or if you’re better off stuffing them with tissues forever.
Dry Cleaner Desperation Move
No cobbler nearby? Some dry cleaners handle leather and might know a trick or two. But be warned—their usual goal is to avoid shrinking fabrics, so results aren’t guaranteed. If they’re willing to try, ask about their method first (you don’t want your favorite boots coming back doll-sized). Still, a cobbler is the safer bet if you can track one down.