Flossing is one of those things we all know we should do, but let’s be real—most of us don’t do it as often as we should. And when we do, we might not be doing it right. Turns out, there’s a lot more to flossing than just sliding a string between your teeth and calling it a day. From technique to timing, here’s the lowdown on how to floss like a pro—and why it matters more than you think.
The Dirty Truth About Skipping Floss
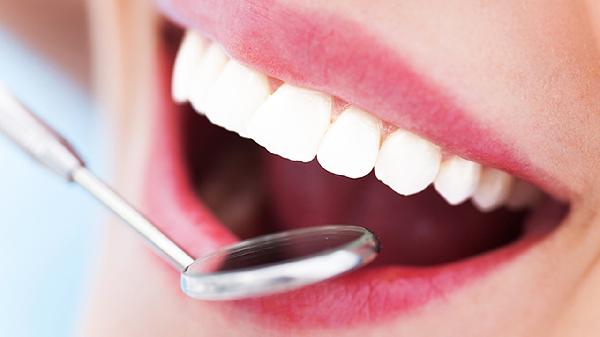
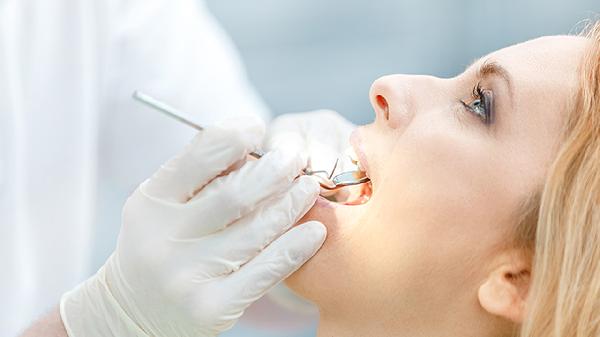
Think brushing alone is enough? Think again. Dr. Whitney White, a dentist at Aspen Dental in Las Vegas, breaks it down: Your teeth have five surfaces, and your toothbrush only hits three of them. That means skipping floss leaves a whopping 40% of your tooth surfaces untouched—prime real estate for plaque and bacteria to throw a party. Over time, that buildup can lead to cavities, gum disease, and some seriously awkward conversations with your dentist. So yeah, flossing isn’t just a suggestion—it’s a non-negotiable part of keeping your mouth healthy.
Flossing 101: The Two Techniques You Need to Know
There’s more than one way to floss, and no, “winging it” isn’t one of them. Dr. Michelle Jorgensen, a Utah-based dentist, explains the two gold-standard methods: the spool technique and the loop method. The spool method involves wrapping most of the floss around your middle fingers and guiding it with your thumbs and index fingers—ideal for keeping things hygienic since you can use a fresh section of floss for each tooth. The loop method, on the other hand, is exactly what it sounds like: tying the floss into a circle for easier handling. Dr. White notes that the spool method tends to be easier for kids or folks with less dexterity, but both get the job done. The real key? Actually using the floss instead of letting it collect dust in your bathroom drawer.
Mastering the “C” Shape: The Secret to Effective Flossing
Here’s where most people go wrong: They snap the floss straight up and down like they’re playing dental tug-of-war. Dr. White emphasizes that flossing isn’t just about getting the string between your teeth—it’s about shaping it into a “C” around each tooth to scoop out the gunk hiding below the gumline. Start with about 18 inches of floss (yes, really), gently work it between your teeth with a rubbing motion, then curve it around one side of the tooth and glide it up and down. No sawing, no yanking—just smooth, controlled movements. Your gums will thank you.
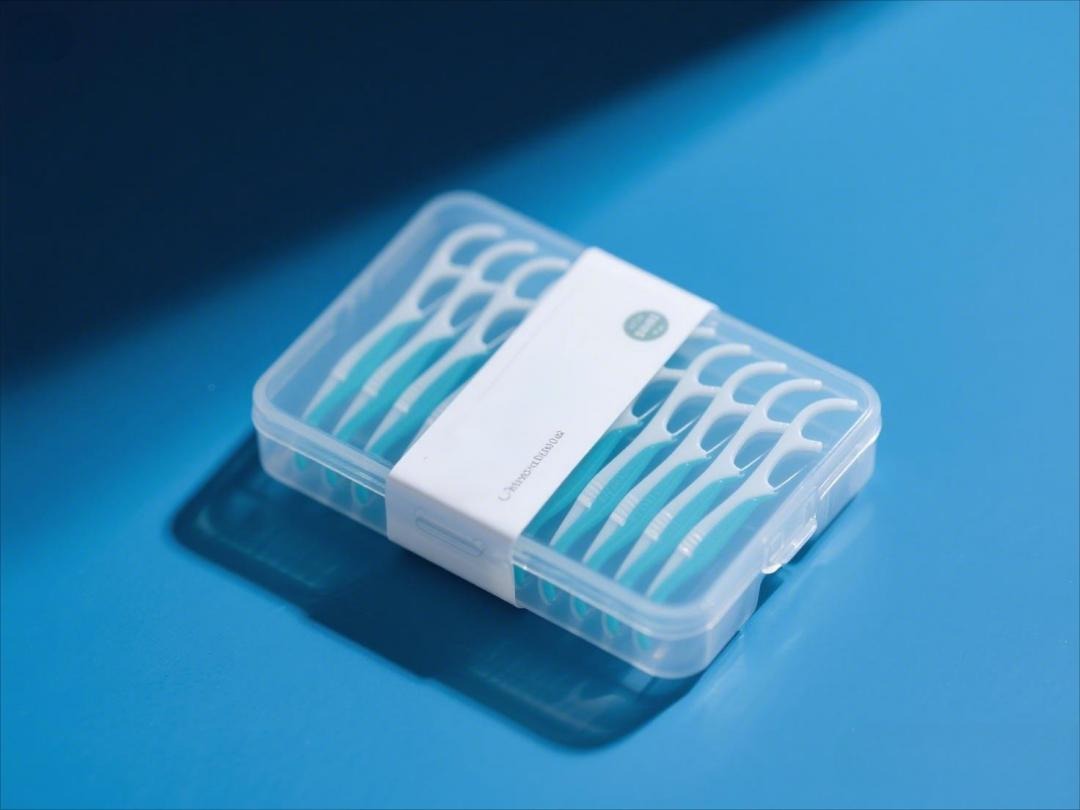
Not All Floss Is Created Equal
If you’ve ever struggled with floss that shreds, sticks, or just plain doesn’t work, you’re not alone. Dr. White and Dr. Jorgensen agree that the “best” floss depends on your teeth. Got tight spaces? Thin, waxed floss might be your MVP. Bigger gaps? Thicker floss or interdental brushes could be the way to go. And if you’ve got braces, bridges, or other dental hardware, mini floss brushes or specialized tools can help you clean where regular floss can’t reach. The bottom line? Experiment until you find your floss soulmate—your teeth deserve it.
Flossing Before or After Brushing: Does It Matter?
Here’s some good news: There’s no hard-and-fast rule about whether to floss before or after brushing. Dr. White says either works, as long as you’re thorough. Some people prefer flossing first to loosen debris, making brushing more effective. Others like the “finishing touch” feeling of flossing after. The only wrong move? Skipping it entirely. So whether you’re a before-or-after person, just keep that floss handy—and maybe stash some in your car or desk for those “oh crap, I forgot” moments.
At the end of the day, flossing isn’t just about avoiding your dentist’s disappointed headshake—it’s about keeping your mouth healthy in ways brushing alone can’t. With the right technique, tools, and consistency, you might even start to enjoy it (okay, maybe “enjoy” is a stretch, but you’ll at least feel less guilty about it). So go ahead, give your teeth the full attention they deserve—your future self will be grinning about it.