Building your own deadlift platform is a game-changer for anyone looking to save money and elevate their home gym setup. Not only does it protect your floors from heavy weights, but it also provides a stable surface for lifting, ensuring you can train safely and effectively. Plus, crafting your own platform allows you to customize it to fit your space and style, all while keeping costs low. Whether you're a seasoned lifter or just starting out, a DIY deadlift platform is a worthwhile investment that pays off in both functionality and savings.
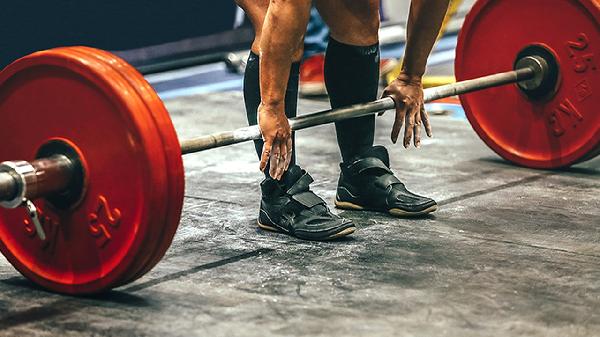
Let’s get real—deadlifting on a regular floor is a recipe for disaster. Dropping heavy weights can crack tiles, dent wood, or even damage concrete over time. A deadlift platform acts as a buffer, absorbing the impact and protecting your flooring. Beyond that, it provides a consistent surface for lifting, which is crucial for maintaining proper form and avoiding injuries. If you’re serious about strength training, a platform isn’t just a luxury—it’s a necessity.
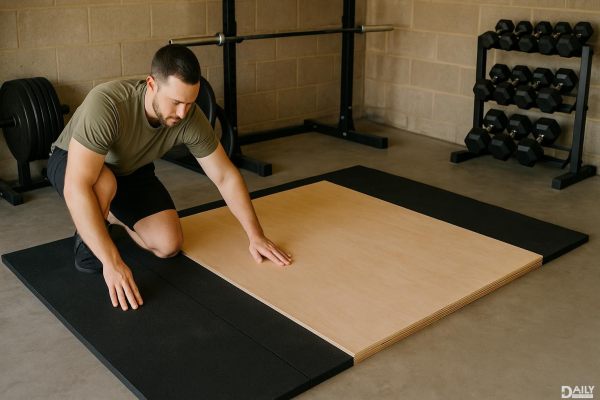
Building a deadlift platform doesn’t require a ton of fancy tools or materials. Here’s the basic list: a sheet of plywood (¾-inch thick), a couple of horse stall mats (¾-inch thick), wood screws, a circular saw, a measuring tape, and a drill. You can find most of these at your local hardware store, and the total cost is usually under $150—way cheaper than buying a pre-made platform. Pro tip: Horse stall mats are a budget-friendly alternative to gym-specific rubber flooring and are just as durable.
Start by cutting your plywood sheet into two equal pieces. These will form the base of your platform. Next, cut one of the horse stall mats into two equal strips—these will go on either side of the platform, leaving the center section exposed for your feet. Lay the plywood pieces side by side, screw them together for stability, and then place the rubber mats on the edges. Secure the mats with screws, and voila—you’ve got yourself a sturdy deadlift platform. Don’t forget to sand down any rough edges for a polished finish.
One of the best parts about building your own platform is the ability to make it uniquely yours. Want to add some flair? Paint the center plywood section with a bold color or your gym’s logo. Need extra grip? Consider adding a layer of non-slip tape to the center area. If you’re tight on space, you can even build a smaller, foldable platform that’s easy to store when not in use. The possibilities are endless, so let your creativity shine.
To keep your deadlift platform in top shape, give it a quick wipe-down after each use to remove dust and sweat. If you notice any loose screws or worn-out sections, address them immediately to prevent further damage. With proper care, your DIY platform can last for years, making it a cost-effective addition to your home gym. Plus, if you ever decide to upgrade or move, you can easily disassemble it and take it with you.
Building your own deadlift platform is a smart, budget-friendly way to enhance your home gym. Not only does it protect your floors and improve your lifting experience, but it also gives you the satisfaction of creating something with your own hands. So grab your tools, roll up your sleeves, and get ready to take your workouts to the next level. Your gains—and your wallet—will thank you.