If you’re into weightlifting or powerlifting, having a lifting platform at home can be a game-changer. Not only does it protect your floors, but it also gives you a dedicated space to crush your workouts. The good news? You don’t need to shell out big bucks for a pre-made one—building your own DIY lifting platform is totally doable. With some basic materials, a little elbow grease, and this step-by-step guide, you’ll have a sturdy platform ready to handle your heaviest lifts in no time.
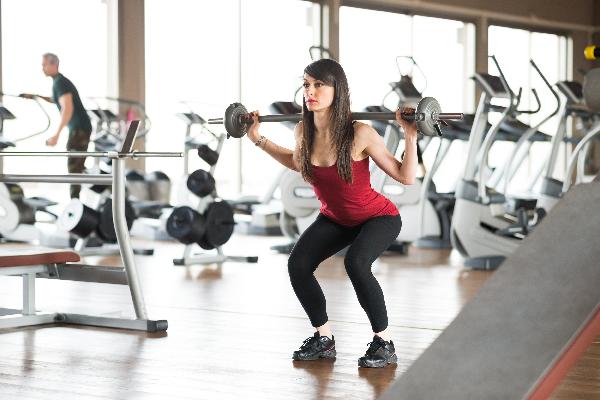
Before we dive into the how-to, let’s talk about the why. A lifting platform isn’t just a fancy accessory—it’s a practical necessity for serious lifters. It provides a stable, shock-absorbent surface that protects your floors from dropped weights and reduces noise (your downstairs neighbors will thank you). Plus, it gives you a consistent space to perform lifts like deadlifts, cleans, and snatches without worrying about damaging your flooring. Whether you’re lifting in your garage, basement, or backyard, a platform ensures you’re set up for success.
First things first, gather your materials. Here’s what you’ll need to build a standard 8’x8’ lifting platform:
Most of these materials can be found at your local hardware store or farm supply store (for the rubber mat). Pro tip: If you’re on a budget, check for sales or discounts on plywood—it can save you a few bucks.
Now, let’s get into the nitty-gritty of building your platform. Follow these steps, and you’ll have a solid, functional lifting platform in no time.
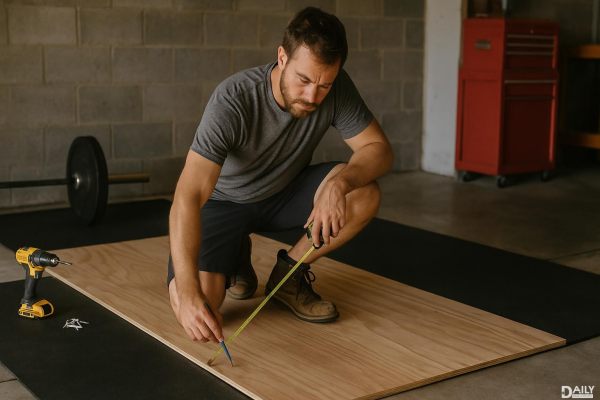
Start by laying out your plywood sheets on a flat surface. You’ll be using three sheets to create the base of the platform. Arrange them side by side to form an 8’x8’ square. Use your straightedge or chalk line to ensure they’re aligned perfectly. Once they’re in place, secure them together using wood screws. Drill the screws along the edges where the sheets meet, spacing them about 6-8 inches apart. This will create a sturdy, seamless base.
Next, it’s time to cut the rubber stall mat. You’ll need two 2’x8’ strips to cover the sides of the platform, leaving the center section exposed for your feet. Measure and mark the mat carefully, then use a circular saw or table saw to make the cuts. Be sure to wear safety goggles and a mask—cutting rubber can be messy and produce strong odors. Once the strips are cut, place them on either side of the plywood base, leaving a 4’x8’ space in the middle.
With the rubber strips in place, secure them to the plywood base using wood screws. Drill the screws along the edges of the rubber, spacing them about 8-10 inches apart. This will keep the mat from shifting during your lifts. If you’re worried about the screws sticking out, you can countersink them slightly or use washers for a cleaner finish.
If you want a smoother surface or need to remove any rough edges, now’s the time to sand the plywood. Focus on the seams where the sheets meet and any areas where the rubber mat overlaps. Once you’re done, give the platform a quick wipe-down to remove any dust or debris. Your lifting platform is now ready to use!
Want to make your platform stand out? Here are a few ways to customize it:
To keep your lifting platform in top shape, follow these simple maintenance tips:
Building a DIY lifting platform is a rewarding project that pays off every time you step onto it. Not only does it save you money, but it also gives you a sense of pride knowing you built something functional and durable. So grab your tools, roll up your sleeves, and get ready to create the ultimate lifting space. Your gains—and your floors—will thank you.