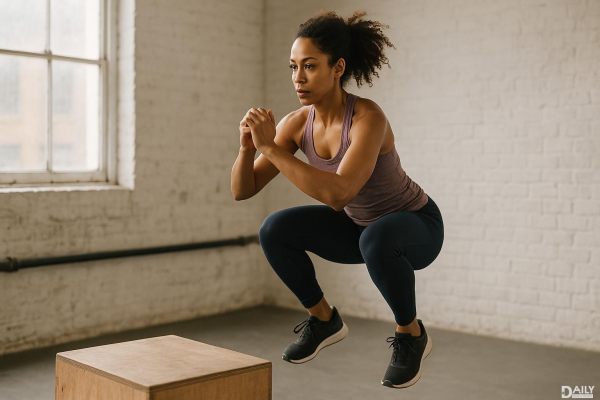
If you’re looking to take your workouts to the next level, building your own plyo box at home is a game-changer. Plyometric boxes are versatile tools that can amp up your strength, agility, and endurance training. Plus, making one yourself is not only cost-effective but also allows you to customize it to your exact needs. Whether you’re a seasoned athlete or just starting out, a plyo box can add that extra oomph to your routine. Let’s dive into how you can build one from scratch and start jumping your way to fitness.

Plyo boxes are a staple in functional fitness because they’re incredibly versatile. You can use them for box jumps, step-ups, dips, and even as a bench for weight training. They’re perfect for building explosive power, improving coordination, and burning calories. The best part? You don’t need a gym membership to get these benefits. With a little DIY spirit, you can create a plyo box that fits your space and workout style.
Before you start, gather your materials. You’ll need plywood (¾-inch thickness is ideal), wood screws, wood glue, sandpaper, and a saw (circular or table saw works best). If you want to get fancy, you can also grab some paint or varnish to give your box a polished look. Don’t forget a measuring tape, pencil, and clamps to keep everything steady while you work.
First, decide on the dimensions of your box. A standard plyo box has three sides: 20 inches, 24 inches, and 30 inches. This allows you to adjust the height based on your fitness level. Measure and mark your plywood accordingly, then cut out the pieces. Sand the edges to avoid splinters—trust me, your hands will thank you later.
Next, assemble the box by attaching the sides with wood screws and glue. Start with the base and work your way up, ensuring everything is square and secure. Use clamps to hold the pieces in place while you screw them together. Once the box is assembled, give it a final sanding to smooth out any rough spots.
Now comes the fun part—customization! You can paint your box in your favorite color or add grip tape to the top for extra traction. If you’re feeling creative, stencil on a motivational quote or your gym’s logo. The goal is to make it something you’re excited to use every day. Plus, a personalized touch can make your home gym feel more professional.
While plyo boxes are awesome, safety is key. Always warm up before jumping to avoid injuries. Start with the lowest height and gradually work your way up as you build confidence and strength. Make sure your box is on a flat, stable surface to prevent tipping. And if you’re new to plyometrics, consider having a trainer or workout buddy guide you through the movements.
Once your box is ready, the possibilities are endless. Try box jumps for explosive power, step-ups for leg strength, or use it as a platform for burpees. You can even incorporate it into circuit training for a full-body workout. The key is to mix it up and keep challenging yourself. Over time, you’ll notice improvements in your speed, strength, and overall fitness.
Building a plyo box at home is a rewarding project that can elevate your workouts without breaking the bank. With a little effort and creativity, you’ll have a durable, customized tool that’s perfect for your fitness journey. So grab your tools, get building, and start jumping your way to a stronger, fitter you!
