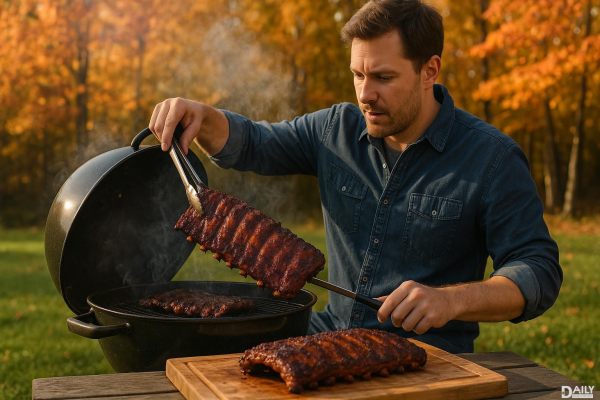
Want to grill chicken that’s juicy, flavorful, and never dry? The secret isn’t just in the cooking—it’s in the prep, the technique, and a few pro-level tricks that most backyard grillers overlook. Whether you’re working with breasts, thighs, or wings, mastering these steps will turn your chicken from bland to bomb every single time.

Not all chicken is created equal when it comes to grilling. Breasts are lean but prone to drying out, while thighs and drumsticks have more fat, which means more flavor and forgiveness on the grill. If you’re a white-meat loyalist, opt for bone-in, skin-on breasts—the bone acts as a heat buffer, and the skin locks in moisture. For dark meat lovers, thighs are your best friend; they’re practically foolproof and pack a punch of flavor. And if you’re grilling wings? Keep ‘em whole or separated into flats and drumettes, but don’t skip the marinade—they need all the help they can get to stay juicy.
If you’re not brining your chicken, you’re missing out on the juiciest results possible. A simple brine—just salt, sugar, and water—works wonders by allowing the meat to absorb extra moisture before hitting the grill. For a basic brine, dissolve ¼ cup salt and ¼ cup sugar in 4 cups of warm water, then submerge your chicken for at least 30 minutes (or up to 4 hours for larger cuts). Want extra flavor? Throw in herbs, garlic, or citrus zest. Just don’t overdo the salt—nobody wants chicken that tastes like the ocean.
Marinades are great for infusing flavor deep into the meat, especially if you’ve got time to let them work their magic (overnight is ideal). Stick to acidic bases like lemon juice, vinegar, or yogurt to tenderize the chicken while adding flavor. But if you’re short on time, a dry rub is your next best bet. Mix spices like paprika, garlic powder, cumin, and brown sugar for a crust that caramelizes beautifully on the grill. Pro tip: Pat your chicken dry before applying a rub—moisture is the enemy of that perfect crust.
Direct heat vs. indirect heat—this is where most grillers go wrong. High heat is great for searing, but if you blast your chicken the whole time, you’ll end up with a charred outside and raw inside. Instead, use a two-zone fire: Sear over direct heat for those gorgeous grill marks, then move the chicken to indirect heat to finish cooking evenly. For gas grills, turn one burner to high and leave the other(s) off. On charcoal, pile the coals on one side. And for the love of crispy skin, don’t flip constantly—let each side get a good sear before moving it.
Poking your chicken to check for doneness is a rookie move. Invest in a meat thermometer—165°F (74°C) is the magic number for breasts, while thighs can go up to 175°F (79°C) for maximum tenderness. If you’re cooking bone-in cuts, check near the bone where it cooks slowest. And whatever you do, resist the urge to cut into it right away. Letting chicken rest for 5–10 minutes allows the juices to redistribute, so you’re not left with a dry mess on your plate.
Slathering sauce on too early is a one-way ticket to burnt sugar city. If you’re using a sugary glaze or BBQ sauce, wait until the last 5–10 minutes of cooking to brush it on. Otherwise, the sugars will caramelize too much and turn bitter. For thicker sauces, thin them with a bit of apple juice or vinegar to help them coat evenly without burning. And if you’re serving sauce on the side? Warm it up first—cold sauce on hot chicken is a vibe killer.
Grilling perfect chicken isn’t rocket science, but it does take attention to detail. From choosing the right cut to nailing the cook time, every step matters. So next time you fire up the grill, skip the guesswork and follow these tricks—your taste buds (and your guests) will thank you.