Want to nail that effortlessly stylish rolled-up sleeves look? It's easier than you think—no origami skills required. Just a few simple folds can transform your dress shirt from boardroom boring to casually cool in seconds. The secret lies in mastering the right technique for your sleeve type and fabric weight, creating crisp folds that stay put without looking stiff or overdone.
Before you even think about rolling, check where your sleeve hits when unbuttoned. Dress shirts should ideally fall to the wrist bone when unrolled—any longer and you'll get bulky folds, any shorter and you'll struggle to achieve that perfect "I didn't try too hard" aesthetic. Tailored shirts with tapered sleeves roll best, while boxier cuts require more finesse. Pro tip: If your cuffs feel tight when rolled, have a tailor add a half-inch to the sleeve opening—it makes all the difference for comfort and drape.
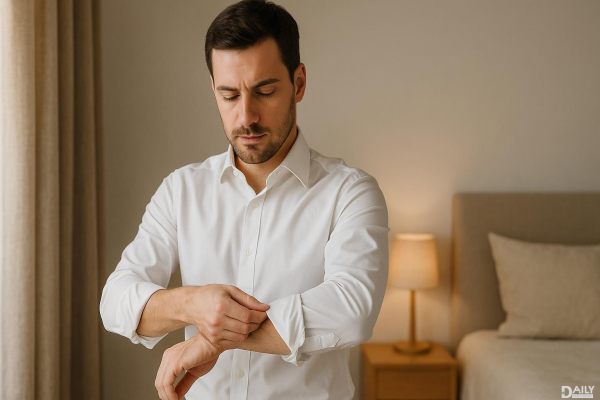
Unbutton the cuff completely and lay it flat against your forearm. Fold the cuff upward once, creating a clean horizontal line about two inches above your wrist. Smooth out any wrinkles, then fold again at the same width. This creates a neat, structured roll that works for business casual settings. For thicker fabrics like oxford cloth, press the fold lightly with your palm to help it hold shape. Avoid going more than three rolls—you'll start looking like a pirate rather than a professional.
Popular among fashion-forward crowds, this method creates a looser, more relaxed look. Start by unbuttoning and flipping the cuff outward (showing the inside fabric). Then roll upward in one continuous motion, letting the fabric fall naturally rather than creating precise folds. The result should sit just below your elbow with slight variation in the roll width—that intentional imperfection is what makes it look cool rather than sloppy. Best for lightweight linens or cotton blends that drape well.
Some premium shirts come with sleeve garters (those little fabric loops inside the sleeve). These aren't just decorative—they're functional genius. After making your initial fold, tuck the rolled portion through the garter to secure it. This keeps your roll in place all day without constant readjustment. No built-in garter? A slim rubber band or hair tie (matched to your skin tone) works similarly when placed discreetly under the fold.
Thicker materials like flannel or twill require special handling—roll them once at the forearm before attempting your final folds to reduce bulk. For delicate fabrics like silk or fine cotton, lightly mist the sleeve with water before rolling to help set the creases without ironing. Patterned shirts? Always roll to showcase the pattern's natural repeat rather than cutting it awkwardly mid-design.
Your finished roll should allow about two fingers to slip comfortably between the fabric and your arm—any tighter restricts movement, any looser looks messy. Do the "coffee cup test"—if you can comfortably lift a mug without the roll sliding down or feeling constricted, you've nailed it. And remember: symmetry is overrated. Having one sleeve slightly higher than the other actually makes the look appear more natural.
With these techniques in your arsenal, you'll never fumble with floppy sleeves again. The perfect roll balances precision with nonchalance—it says "I have important meetings later" while whispering "but I might hit a rooftop bar first." Practice different methods to find what works for your personal style and shirt collection, because when it comes to looking polished yet relaxed, the devil's in the details—or in this case, the folds.