If your belt is too tight and you’re tired of that uncomfortable squeeze, don’t worry—making a perfect hole in your belt is easier than you think. Whether it’s a leather belt or a fabric one, you can DIY a new hole in just a few minutes with the right tools and techniques. No need to rush to the store or buy a new belt—let’s get into the nitty-gritty of how to do it like a pro.
First things first, you’ll need the right tools for the job. For leather belts, a leather hole punch is your best bet. These are inexpensive and can be found at most craft or hardware stores. If you don’t have one, a sharp awl or even a drill bit can work in a pinch. For fabric belts, a simple seam ripper or small pair of scissors will do the trick. You’ll also want a ruler or measuring tape, a marker or pen, and a piece of scrap wood or cardboard to protect your work surface.
Before you start punching holes, measure where you need the new one. Put on your belt and mark the spot where it feels comfortable. Use your ruler to ensure the mark is evenly spaced with the existing holes. This step is crucial—you don’t want a wonky hole that throws off the whole look of your belt. Once you’ve marked the spot, double-check it to make sure it’s just right.
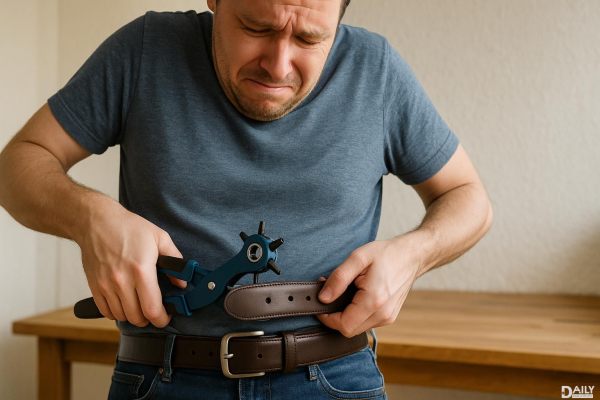
Now for the fun part—punching the hole. If you’re using a leather hole punch, place the belt on your scrap wood or cardboard to protect your table. Line up the punch with your mark and press down firmly. It might take a bit of elbow grease, but the hole should come out clean and even. If you’re using an awl or drill bit, go slow and steady to avoid tearing the leather. For fabric belts, carefully use your seam ripper or scissors to create a small, neat hole. Remember, it’s better to start small—you can always make it bigger if needed.
Once you’ve made the hole, take a moment to clean up the edges. For leather belts, you can use a bit of sandpaper or a nail file to smooth any rough spots. If you’re feeling fancy, you can even apply a small amount of leather conditioner around the hole to keep it from cracking over time. For fabric belts, a dab of clear nail polish or fabric glue on the edges of the hole can prevent fraying.
Finally, buckle up and test your handiwork. The belt should fit comfortably without any awkward gaps or tight spots. If it feels good, you’re all set! If not, you can always make adjustments—just remember to measure carefully and take your time. With a little practice, you’ll be a belt-hole-punching pro in no time.
So, next time your belt feels a little too snug, don’t stress. With these simple steps, you can create a perfect hole in minutes and keep your outfit looking sharp. Happy punching!